Product photoshoots can be a bit of trouble without a well-planned setup and the right equipment, not to mention a team of people to help you bring your creative vision to life. Read on below to learn what you should do to pull off a great product photography setup.
What do I need for product photography setup?
Equipment.
While a DSLR camera is ideal for producing high-grade photos, it can be too complex and costly for eCommerce start-ups looking to put their products out for the first time online. Fortunately, a number of modern smartphones nowadays offer the same, or nearly similar, level of quality photos that can resonate and engage with customers.
If you decide on investing in a quality camera, don’t forget to invest in lenses and gear heads as well. You’ll also want to get a tripod or camera stand to help stabilise your shots. Going handheld always presents a possibility of camera shake, resulting in blurry and low-quality photographs.
Backdrop.
A plain white background is the usual norm for product photos, and here’s why: the best backdrops shouldn’t stand out — they should make the product in focus stand out instead. They shouldn’t compete with your subject for the viewer’s attention.
That said, you’re not limited to using solid colour backgrounds. You can use textured or patterned backdrops for your shoot if it enhances the overall photo without drawing attention away from your product.
Lighting.
Quality lighting can sometimes make or break the customer’s purchase decision. If you don’t have the funds to invest in quality studio lighting, take advantage of natural daylight. For best results, time your shoot for when the sun isn’t too harsh or too dim and work close to windows that offer unobstructed sunlight.
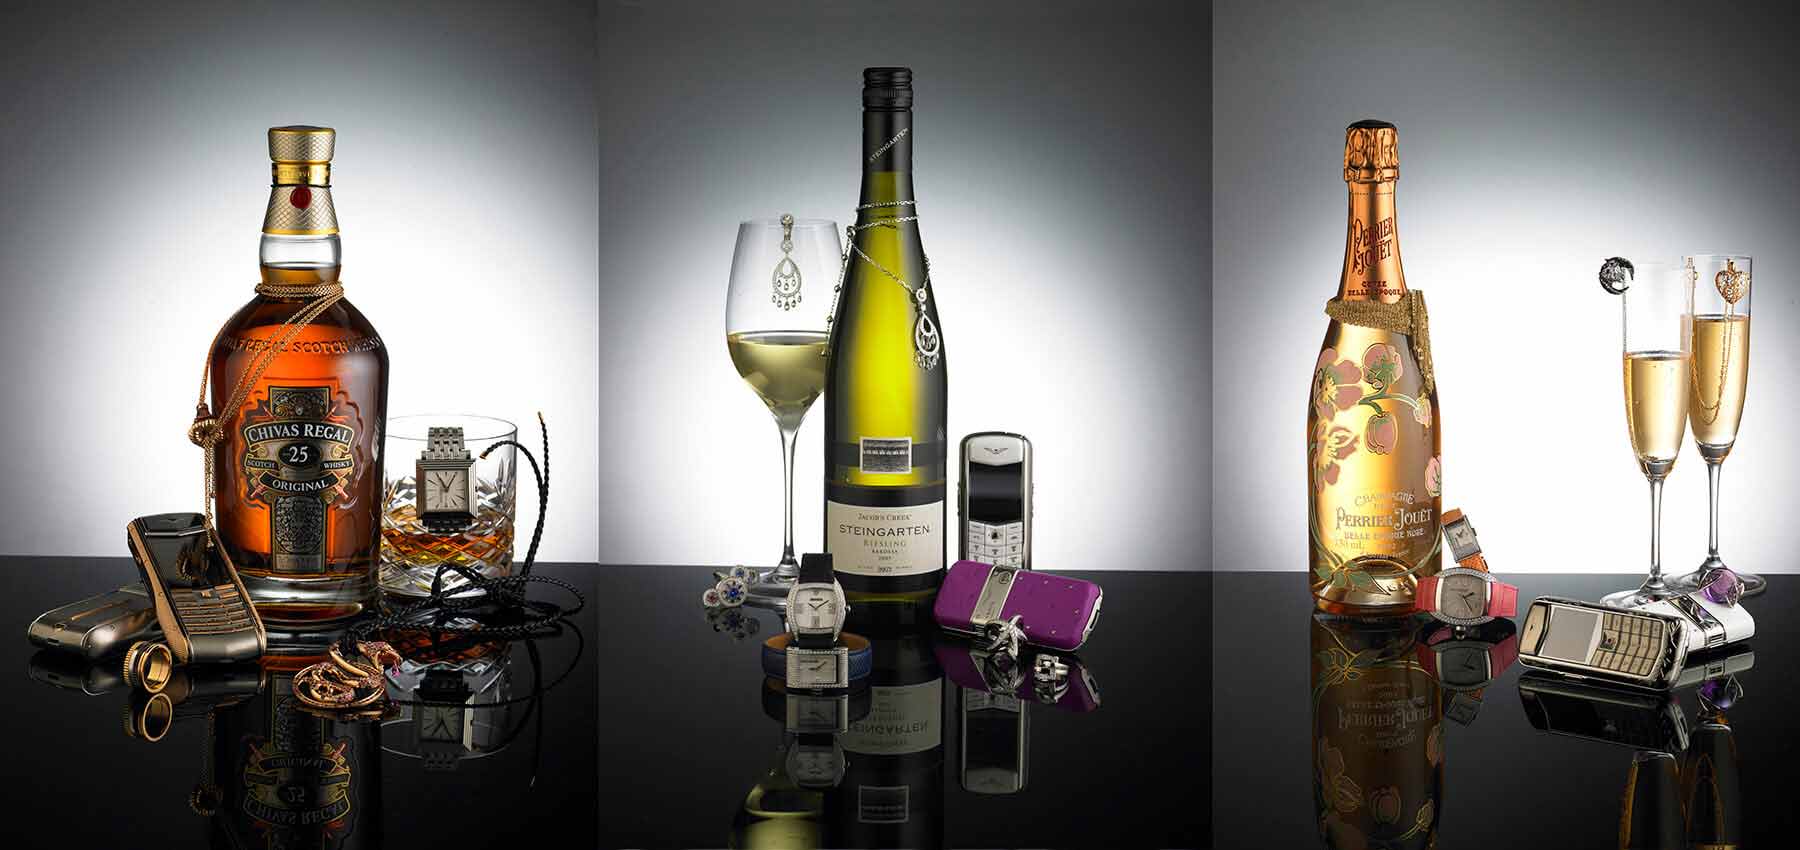
If you opt to use artificial light for your shoot, professional photographers typically use a minimum of two light sources in their setup — one positioned in front of the product and one behind or above to eliminate shadows.
Whether you use natural or studio lights, we recommend using reflectors and bounce boards to help you minimise sharp shadows and highlight product details.
Post-production.
Image editing is the last — and a very important — phase in the product photography process. Post-production takes a whole different skill set and will require image-editing software programs that you may have to shell out for if you’re looking beyond basic editing and cropping.
It’s also a time-consuming stage. From adjusting brightness and colours to levelling and cropping to adding and removing unnecessary elements, there can be a lot of tweaking to achieve the results you want.

Speak to creative professionals for your creative product shoot
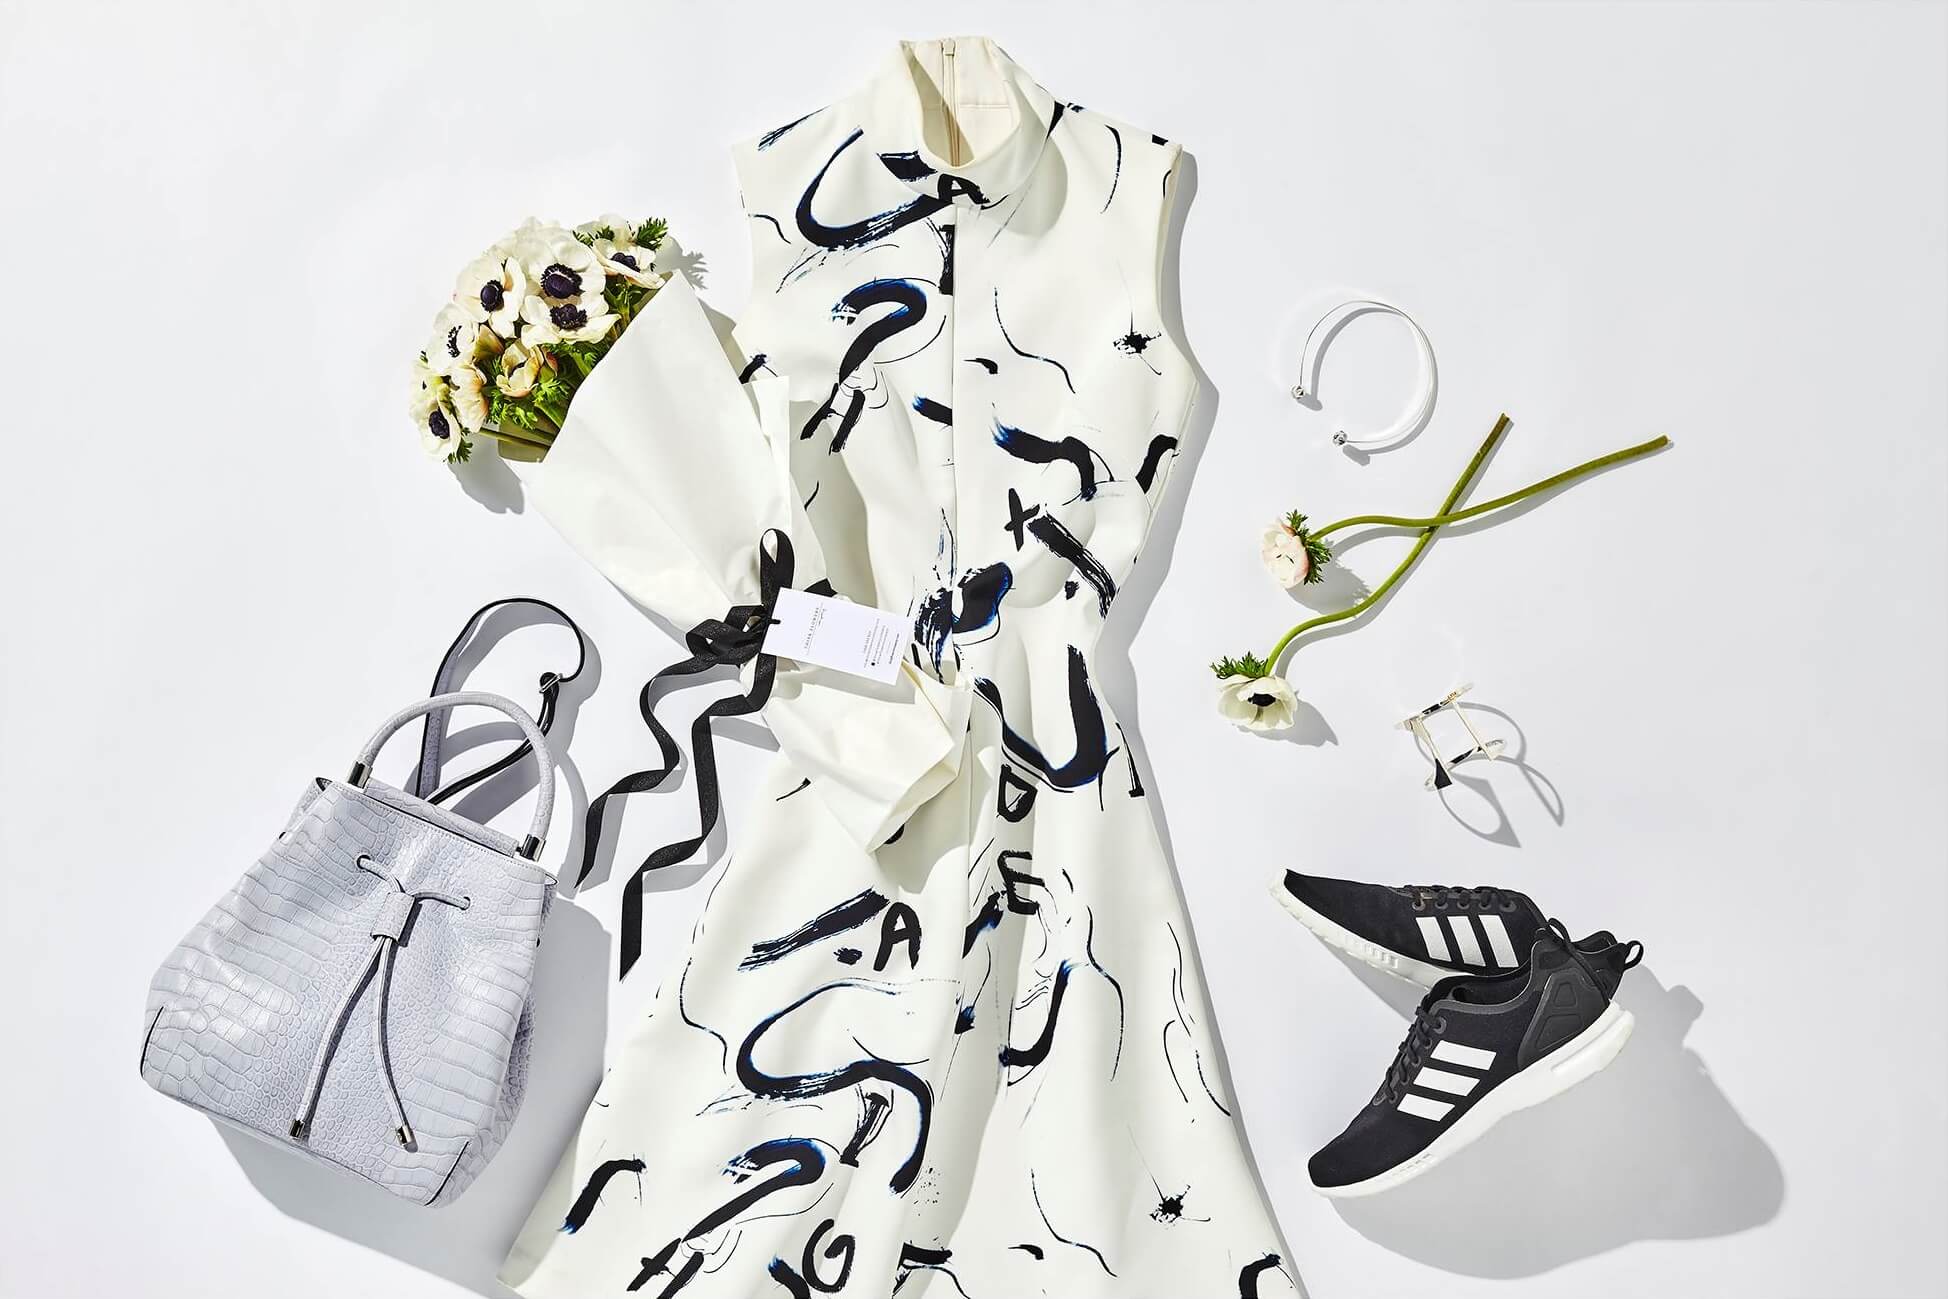
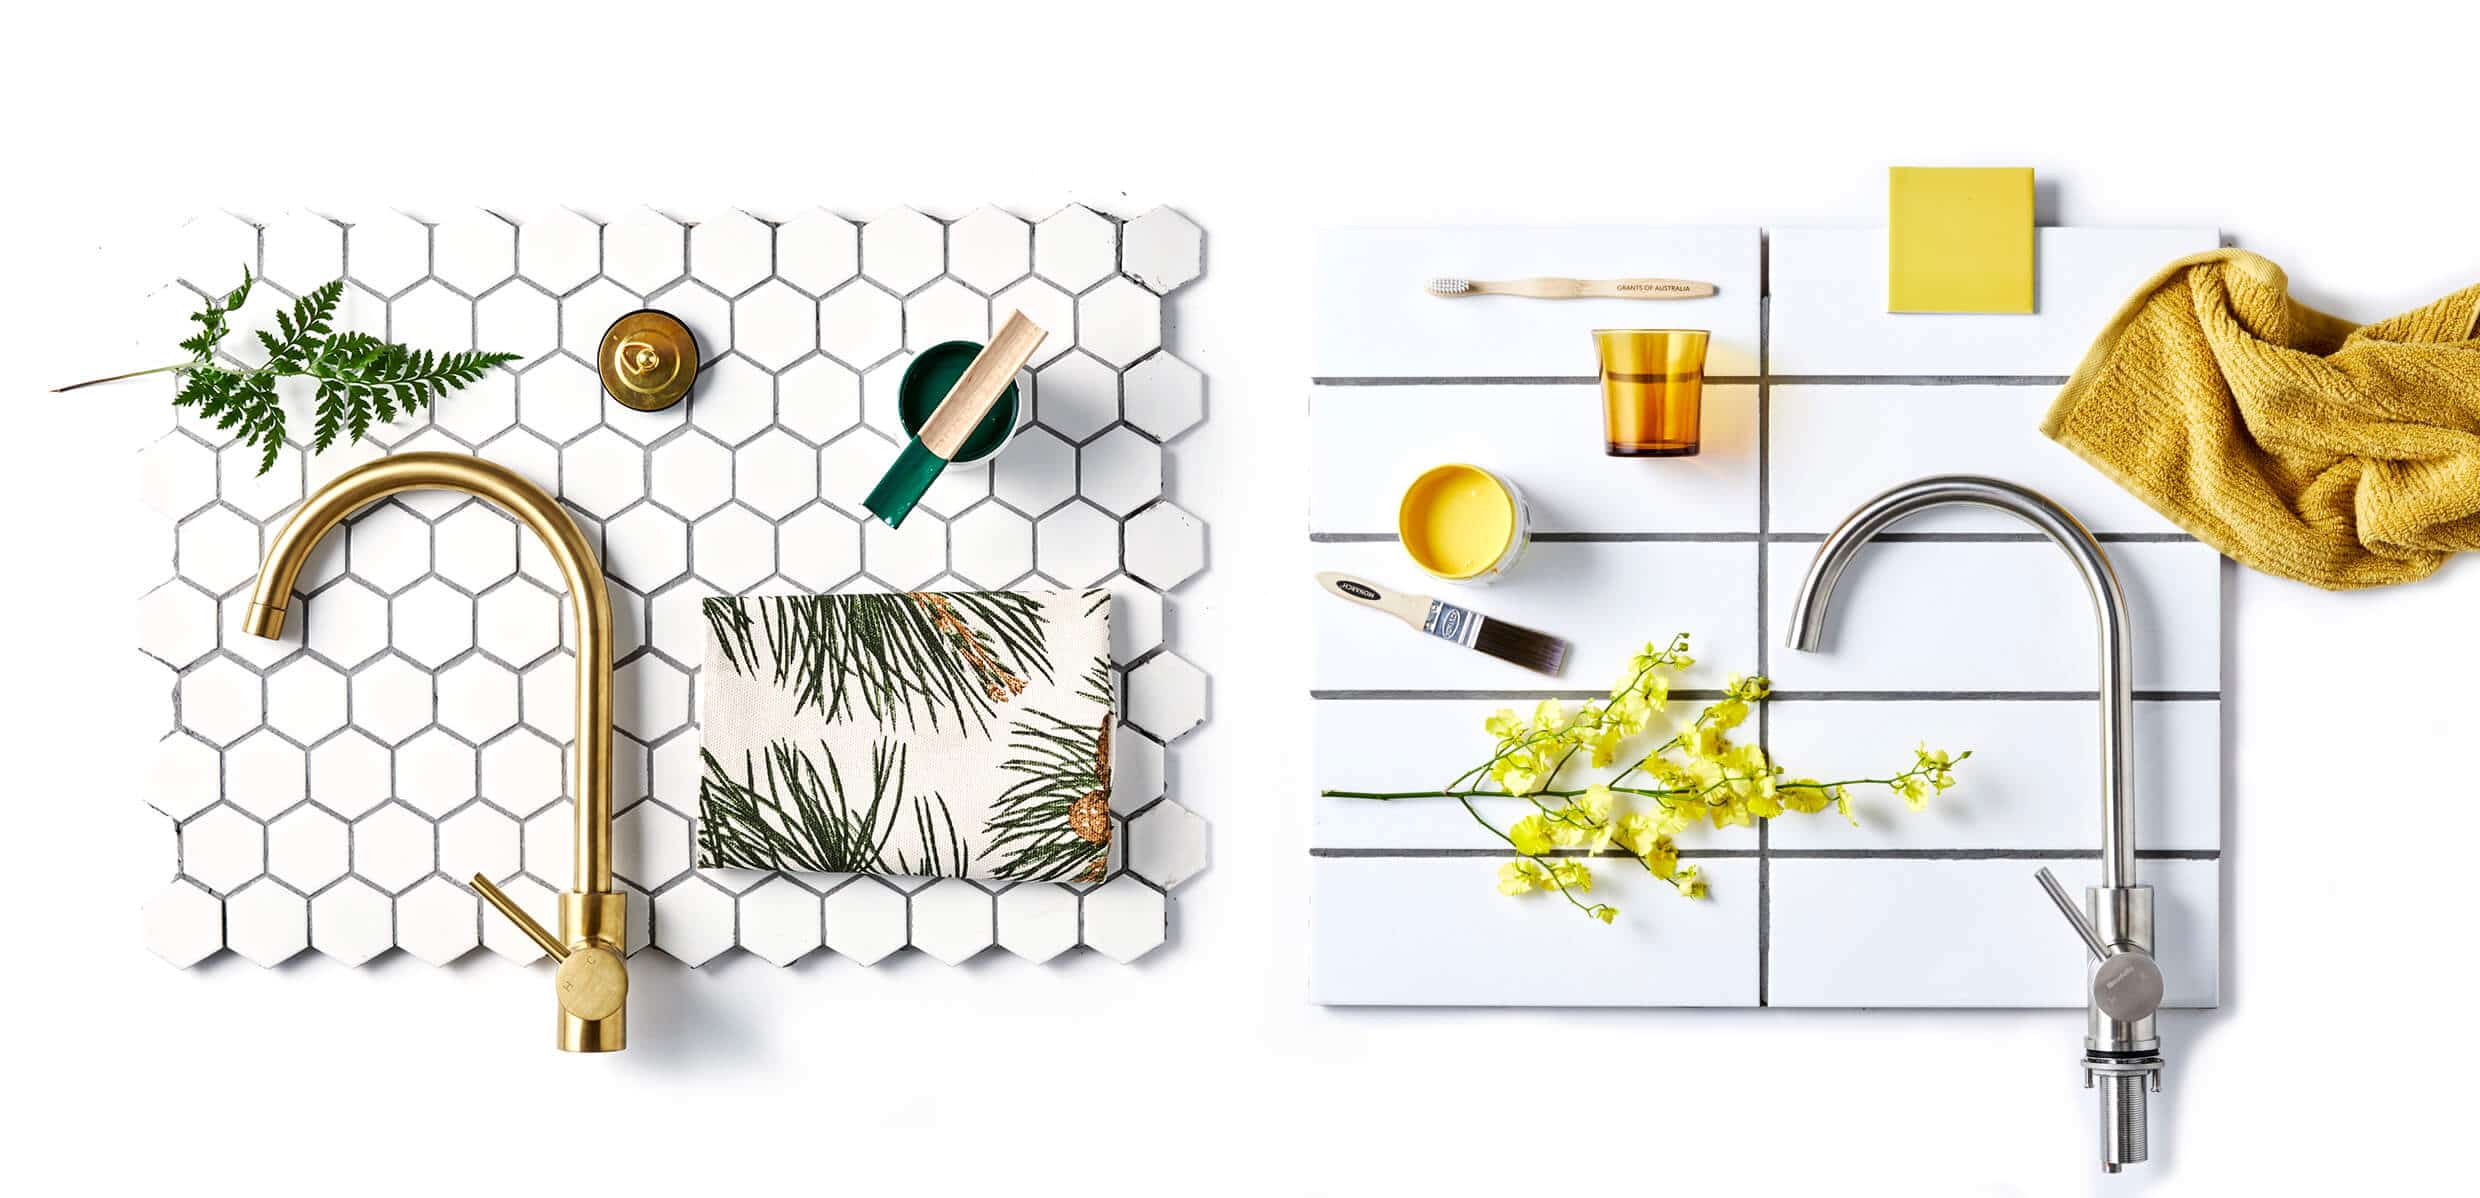
It’s worth noting that the things mentioned above are general tips. You can explore product photography setup ideas to match your particular brand or theme. For example, while a diamond ring against a white backdrop works for a jewellery product shoot, skincare products may appeal to audiences better in a flat lay shot. Still life photography can also get uniquely memorable with the right supporting elements. Don’t be afraid to get creative with your photos using composition and different angles.
If you’re one of the people who don’t have the time or resources to do product shoots for your online shop, that’s where we come in. From lifestyle fashion shoots to detailed product packaging photographs, we can help you achieve your dream visuals. Contact us today for our services.


